How to make a Beadie
Basic Instructions:
|
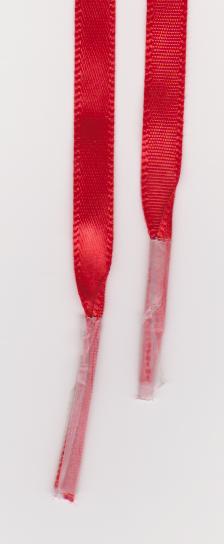
Step 1: Stiffen each end of the ribbon or cord with scotch tape. The ends should resemble aglets (the ends of a shoelace). This will make it easier to lace on the beads.
|
 |
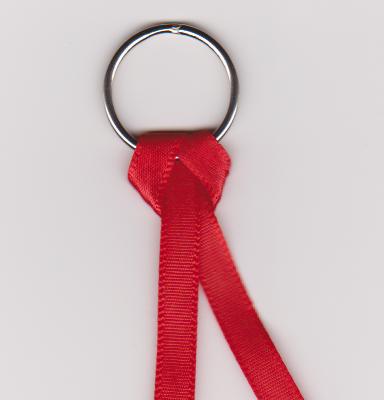
| Step 2: Fold
the ribbon or cord in half. Using a half hitch, secure it
to a key ring or lanyard hook.
|
 |
| Step 3: Using the pattern as a guide, lace the beads onto one strand of ribbon or cord. | 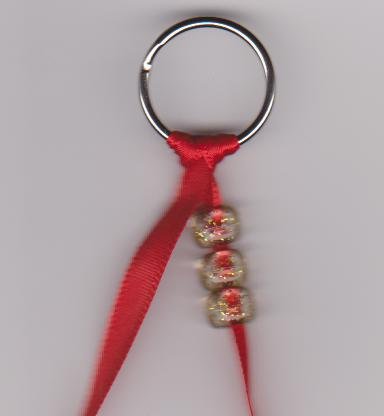 |
| Step 4: Use the other strand to weave back through the beads which will complete the first row of your pattern. | 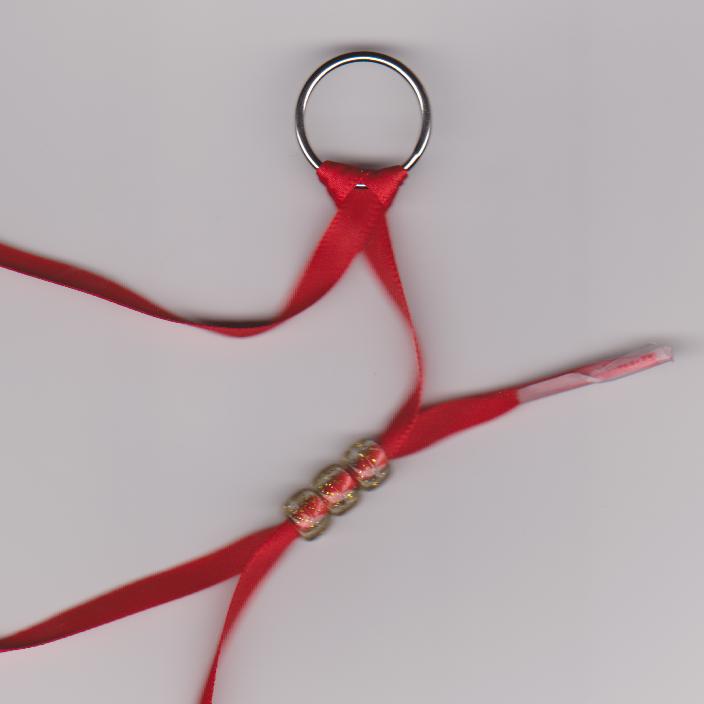 |
| Step 5: Make sure that you pull the strands tight after completing each row. | 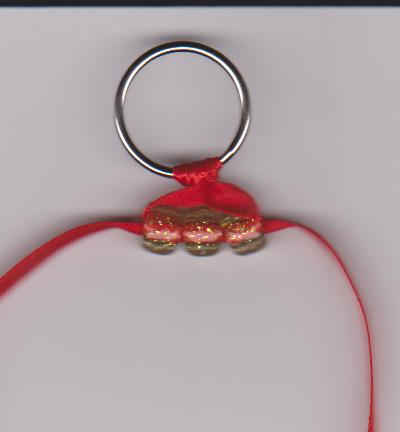
|
| Step 6: Finish by tying off with a double knot. Some patterns may have two knots. The knots are shown on each pattern as small circles. Trim off the excess ribbon or cord and secure the knot(s) with a drop of craft glue. |
Designers Note: It is a matter of personal choice as to what type of "string" to use when making these projects. I personally like to use 1/4 inch ribbon for the regular size pony beads and 1/8 inch ribbon for the wee beads. If you use rattail cord, I suggest the 2mm cord for the regular beads and 1mm for the wee beads. Plastic lacing/rexlace is also very popular. However, my experience with plastic lacing is that the design doesn’t hold it’s shape and tends to curl up. Therefore, I would only recommend plastic lacing/rexlace for patterns that require some stiffness such as my "Zubat" pattern.
If further assistance is needed, please e-mail me.
Happy Beadin’
Evelyn